Sunday, July 15, 2012

Bacon Cream Cheese Puffs

This is a recipe I have been working on for a while. It is a party favorite whenever I make it, and I'm pretty sure it has become one of my boyfriend's favorite foods. I have tried this recipe with biscuit dough and crescent roll sheets, but biscuit dough seems to taste best. The cream cheese filling also makes a great cheese spread to eat with crackers.


Ingredients

2 packages buttermilk biscuits (8 per can)
1/2 to 1 package bacon
8 oz cream cheese
½ cup diced green onions
½ t black pepper
1 t garlic powder
1 egg white
1 T water

Cook the bacon first. I find it fastest to cook the bacon in the oven because you can cook large amounts at once.

Preheat the oven to 400 degrees. Line a cookie tray with aluminum foil and arrange the bacon side-by-side to fill the pan. I can usually fit about 2/3 of a package of bacon on one cookie tray, and if I’m feeling lazy or in a hurry that’s all I use for this recipe. More bacon is always better though.


Bake for 10 minutes, flip the bacon with tongs, then replace and bake for 5-10 minutes more until bacon is crispy. Allow to cool before dicing into small pieces (like bacon bits).

Reduce oven temperature to 350 degrees. Combine cream cheese, bacon, green onions, garlic and pepper in a bowl and mix well with a spoon or spatula. For best results, chill in the refrigerator until firm before filling the biscuits. I usually make the cream cheese filling the night before a party to save time.

It's really hard not to just give up and eat this with a spoon.
To make the egg wash, combine one egg white and one tablespoon water in a bowl and beat with a fork until foamy. Line a baking tray with with parchment paper, or aluminum foil coated with non-stick spray. Cut each biscuit in half so you have 16 pieces, and roll each piece into a ball. Smash a ball of dough in your hand so you have a disc, and place about half a tablespoon of filling in the center.


Brush a generous layer of egg wash around the edges, and press the edges together so you have a half-moon shaped pie. It is okay if the egg wash spills over onto the cream cheese. Don't skimp on the egg wash or the edges won't seal and you will have an oozy mess (see picture below). Arrange on baking tray and bake at 350 degrees for 10 to 15 minutes until brown on top.


Not enough egg wash - they all exploded! Still tasted great though.

Remove to a cooling rack and allow to cool for a few minutes before serving, as the cream cheese filling is like molten lava when it first comes out of the oven.

Veggie Pizza


This is great finger food for a party!


Ingredients


1 package crescent roll dough
8 oz cream cheese
½ cup sour cream
1 cup diced red, green, and yellow peppers
1 cup broccoli florets
1 carrot, grated
1 cup cheddar cheese, grated


Beautiful colors in this recipe!
Preheat oven to 350 degrees and take cream cheese out of refrigerator to come to room temperature. Spray or oil a 13x9 pan. Press crescent roll dough into pan, stretching to meet the edges and smoothing out crescent roll seams so there are no gaps. I like to push the dough up the sides of the pan slightly so there is a crust on the pizza. Bake at 350 degrees for 10 minutes. Remove from oven and allow to cool.


When cream cheese is room temperature, combine cream cheese and sour cream in a mixing bowl and beat on medium speed until smooth. Use a spatula to spread a thick layer of this mixture on the dough. If you have some left over, you can use it to make chip or cracker dip.


Spread peppers, carrots, and broccoli over the pizza until most of the sauce is covered. Lightly press down on the vegetables to help them stick to the sauce so the toppings don’t all fall off when people try to eat it. 


Sprinkle a light layer of grated cheddar cheese on top. Refrigerate for at least a half hour before serving. Slice into four rows each way to make 16 small pieces.

Thursday, July 5, 2012

Avocado Chicken Salad

This recipe is a healthier version of an old favorite, replacing mayonnaise with avocado in chicken salad. I love avocados and I love chicken salad (though mine is usually full of mayo and bacon!), so when I found this recipe I couldn't wait to try it.

The picture does not do justice to the amazing green color this salad has!
Ingredients:

1-lb chicken breasts
1 tray ice cubes
1 large avocado
3 T diced fresh cilantro
2 T lime juice
1/2 t salt
1/4 t pepper

*Note: The original recipe called for green onions, which didn't sound good to me. James suggested diced green peppers instead of onions in this recipe, which I think sounds amazing. I will definitely be adding the green peppers next time.

Boil chicken breasts in water until they tear apart easily with a fork (about 20 minutes). Drain chicken breasts in a colander and cover with a tray full of ice to cool quickly. When chicken is cold, remove to a mixing bowl and shred to small pieces with forks or your fingers.

Cut avocado in half and remove pit. Score avocado halves with a knife and remove from peel with a large spoon. At this point I advise to mash the avocado in a separate bowl before adding to chicken; I added the avocado chunks directly to the shredded chicken and it was very difficult to mix the two well.


Add salt, pepper, lime juice and cilantro. Fresh cilantro from the garden is so much better than cilantro from the store that one might almost think it is a different plant. For this recipe I had extremely fresh cilantro from a friend's garden, and I might never be able to eat store-bought cilantro again.
So good!
Mix everything together well. Serve in pitas or on a tasty toasted bread. It tastes great on it's own, but we also tried it on a nice dark German wheat bread with a slice of Havarti cheese and it made an excellent sandwich!

References:
http://becomingbetty.blogspot.com/2011/09/avocado-chicken-salad.html

Wednesday, July 4, 2012

Red, White, and Blue Pizza

Happy Independence day everyone! This is my favorite treat to make for Fourth of July parties. Hope everyone has a great holiday!


Ingredients:


1 16-oz package of ready-made sugar cookie dough
1 pint blueberries
2 pints strawberries
8 oz. cream cheese (*do NOT use low-fat)
1/4 cup sugar
1/2 t vanilla


Before you start on the dough, take the cream cheese out of the refrigerator so it can come to room temperature.


Preheat oven to 350 degrees. On a pizza pan or cookie tray covered with failed or parchment paper, smash/spread cookie dough to form whatever shape fruit pizza you would like. A rectangular pan makes a nice U.S. flag, for instance. Kraft suggests cutting the dough into cookies and pressing the cookies together to form a circle.


Bake your huge cookie at 350 degrees for 10-12 minutes. Let come to room temperature before attempting to frost. Wash fruit and slice strawberries while waiting for the cookie to cool and the cream cheese to come to room temperature.


When cream cheese is no longer cold, combine in a mixing bowl with sugar and vanilla and beat until smooth. I learned the hard way that it is very important that the cream cheese is room temperature - within seconds of turning on the mixer, the whole chunk of cheese was stuck in the beaters.


Oops.
Spread the cream cheese frosting onto the cookie in a thin, even layer. Arrange strawberry slices and blueberries into whatever pattern you like. Refrigerate before serving to help the frosting set.

*Note: Kraft adds a step that I skipped because I ran out of time. Mix 1/4 cup apricot preserves with 1 tablespoon water, push through a sieve to remove lumps, and brush across the top of the pizza. This creates that clear glaze that you see on fruit pizzas in the store. I'm sure you could do this with other flavors of preserves too. Paula Deen drizzles melted chocolate chips on top, which certainly sounds amazing too.

References:


Wednesday, June 13, 2012

Pesto Pasta

This is something I eat at least once a week, but I usually cheat and buy the dried pesto packets at the grocery store and just add cheese and olive oil. For the first time in years I am growing basil at home this summer, and today it was finally ready to eat.


When growing basil at home, there are a few rules. It is important to not let the plants flower, because this changes the flavor of the basil. If flower buds do appear, cut them off before they bloom and cut the plants back so they do not bloom again. This is a great time to make pesto. Never cut off more than half of a basil plant, or you risk killing the plant.

My basil grew like crazy these last few weeks, and all of sudden the plants were threatening to bloom. Today, I pruned all the basil plants back to about 50 to 60% and made pesto pasta with the abundance of fresh basil I had cut.


Ingredients:

1 1/2 cups fresh basil, packed down
1 cup grated Parmesan or Romano cheese (I prefer Romano)
4 T olive oil
1/2 t pepper
3-4 cloves garlic

1/2 lb pasta (usually half a box)

Combine all ingredients (except pasta) in food processor and puree until smooth,. Use a spatula to scrape sides, making sure all ingredients get pureed. This makes about 3/4 cup of pesto.


Cook pasta according to directions on box. Mix pesto with hot pasta. Serve garnished with more grated Parmesan or Romano cheese.

Self-Frosting Nutella Cupcakes


Self-Frosting Nutella Cupcakes


Yum!
Ingredients:


1 stick (½ cup) unsalted butter
¼ cup canola oil
1 ½ cups sugar
2 eggs
2 tsp hazelnut liquor
2 ½ t baking powder
¼ t salt
2 ½ cups flour
1 ¼ cups milk


½ to ¾ cup Nutella


Preheat oven to 325 degrees. For best results have butter and eggs at room temperature before you start. 


Mix dry ingredients (baking powder, salt, and flour) in a bowl and set aside. Cream butter, oil, and sugar together in mixing bowl until smooth. Add eggs one at a time, beating at medium-high speed until smooth. Add hazelnut liquor (I used Frangelico) and mix well. Add milk and dry ingredients slowly, alternating between the two and mixing at medium-high speed until all ingredients have been added and batter is smooth.


Line a muffin tin with cupcake papers. Fill each cupcake paper only halfway with cupcake batter. In a separate bowl, microwave the Nutella for 20 seconds to soften it. Spoon about a tablespoon of Nutella into the center of each cupcake.


Using something thin (toothpick, chopstick, skewer… I used a meat thermometer), swirl the nutella throughout the cupcake.


Bake at 325 degrees for 20-25 minutes. Do not overcook, or the cupcakes will be too dry. Twenty minutes was enough in my oven.


Overfilling and overcooking = oops! The top fell off when I tried to pick up a cupcake from the first batch.
Let cool in muffin pan for 5 minutes before transferring cupcakes to a cooling rack. Makes 24-30 cupcakes.


These cupcakes should not need extra frosting; the Nutella acts as frosting.


References:
http://www.epicurious.com/recipes/food/views/Amy-Sedariss-Vanilla-Cupcakes-236125 
http://blogs.babble.com/family-kitchen/2011/05/04/self-frosting-nutella-cupcakes/ 

Monday, May 28, 2012

Berry and Cream Crepes

Today I felt like being creative in the kitchen, but it was HOT in Cleveland - 93 degrees last time I checked. With an abundance of frozen fruit in my freezer (usually destined for smoothies), I decided crepes would involve the least amount of time standing over a stove.


I encountered a few problems immediately - I only had two eggs left, I was out of milk, and getting more of either involved going out into that ungodly heat. After some research and substitutions, I came up with the recipe below, which worked surprisingly well. I will not post my disastrous attempt at strawberry filling; instead, I merely suggest you use fresh strawberries to fill this crepe and top with either whipped cream or the mascarpone topping listed below.


Crepe soup, anyone?
Ingredients:


2 eggs
6 T all-purpose flour
2 t sugar
1/4 t cinnamon
1/4 t salt
2/3 cup milk (I substituted vanilla almond milk)
2 t coconut oil


Mix the above ingredients together in a blender; blend until smooth.


Topping:


1 12-oz container mascarpone cheese
1 1/2 T honey


Mix mascarpone and honey together in a bowl until smooth.


Heat a medium-sized nonstick frying pan on a little higher than medium heat. The heat level will vary by stove, so use your judgement. Be patient and let your pan get hot before you start.


Most recipes say to use a small amount of butter to grease the pan, but I found this made my crepe too flimsy, greasy, and very difficult to flip. On my second crepe, I used a dry pan, and it worked far better.


Pour enough batter into the pan to almost fill the pan with a very thin layer. Working quickly, use a tablespoon to spread batter throughout the pan and to thin out thick spots.


When crepe is almost cooked through, work a large spatula carefully under the edges and flip quickly. This may take a few tries to get the technique down; don't be discouraged if your first one falls apart or end up hanging halfway out of the pan (yep, I did that).

Yeah! A successful flip!
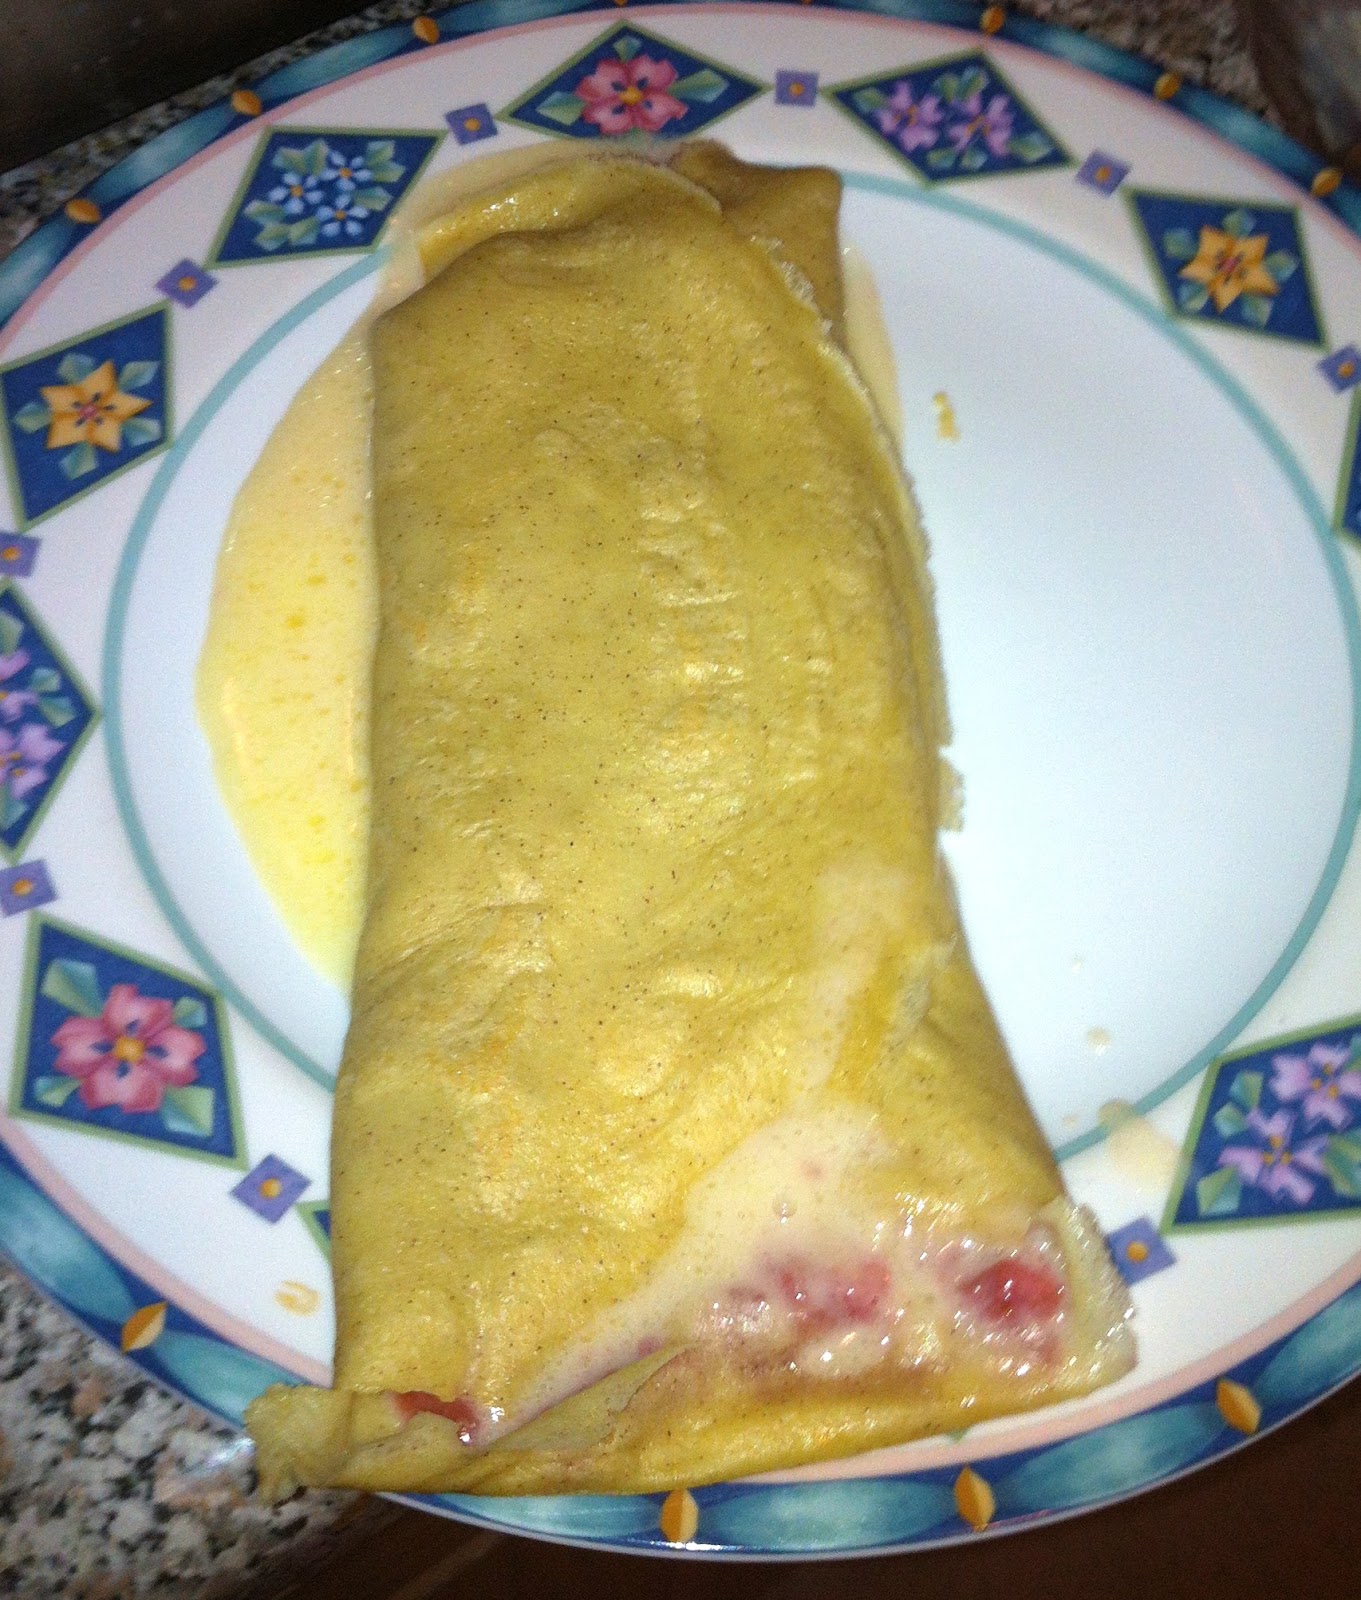
Spoon some berries into a line in the center and use the spatula to fold over the sides so that it looks like a burrito. Some people prefer to just fold in half, but I found it is easier to get the crepe out of the pan if it is folded in thirds. Don't overfill the crepe, or this will happen when you try to fold it:

I still can't believe I actually got this out of the pan without making a mess
My advice on successfully removing a crepe from the frying pan is this: pick up the frying pan and hold it over a plate. Tilt the frying pan and use the spatula to guide the crepe onto the plate. This works far better than trying to lift the whole crepe with a spatula and move it to the plate without falling apart.

The only one that made it to the plate intact
Top with a few dollops of the mascarpone topping. I tried putting the mascarpone on the inside, but it melted quickly, creating the soupy mess that you see above. Makes 2-4 crepes, depending on how large you make them and how many you accidentally destroy.

References:
http://www.epicurious.com/recipes/food/views/Banana-Orange-Crepes-109044